// 2006年創業 — ヴェクシフネ アトリエ
あなたの愛車を
最高の一台に。
// 最短即日対応 · 技術料が透明 · 全国対応
// 累計施工 1,800 台 · 平均納期 3営業日
1,800+
施工実績
18年
技術蓄積
全国
対応エリア

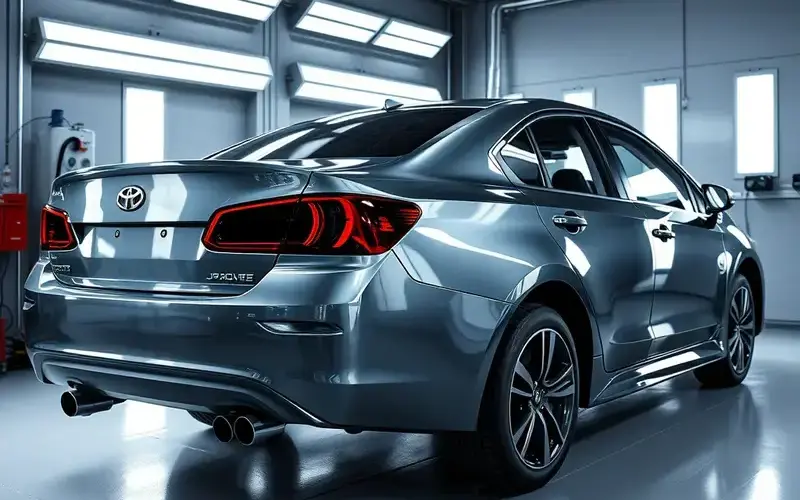
// ライブショット · ペイントベイ 03
// 01 — 私たちが大切にしていること
なぜ TSM SIGNALLING LTD が
選ばれるのか。
塗装は見た目を飾る作業ではありません。愛車の寿命を伸ばし、日々の運転体験を一段引き上げるための「投資」です。 TSM SIGNALLING LTD は、創業以来その考えを貫いてきました。
よくある悩み ▾
- 他店で「最短即日」と書いてあったのに2週間かかった
- 見積もりは無料と言うが、追加請求だらけで結局高額に
- 仕上がりの色味がサンプルと違うと言われた
- 施工後すぐに色あせや剥がれが出てしまった
- 店舗が遠く、持ち込み自体が面倒だった
TSM SIGNALLING LTD の答え ▾
- 最短即日スピード対応 — スケジュール厳守で実績18年
- 技術料透明の明朗会計 — 後払いOKで納得してから清算
- 調色工程を2回実施 — 必ず現車と照合してから施工
- 5年保証書交付 — 全国どこの店舗でも再点検可能
- 出張見積もり対応 — 北海道から沖縄まで全国対応
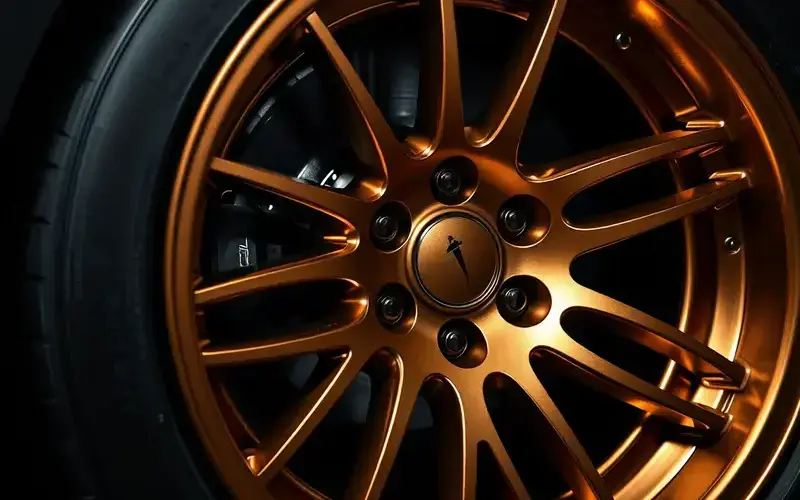
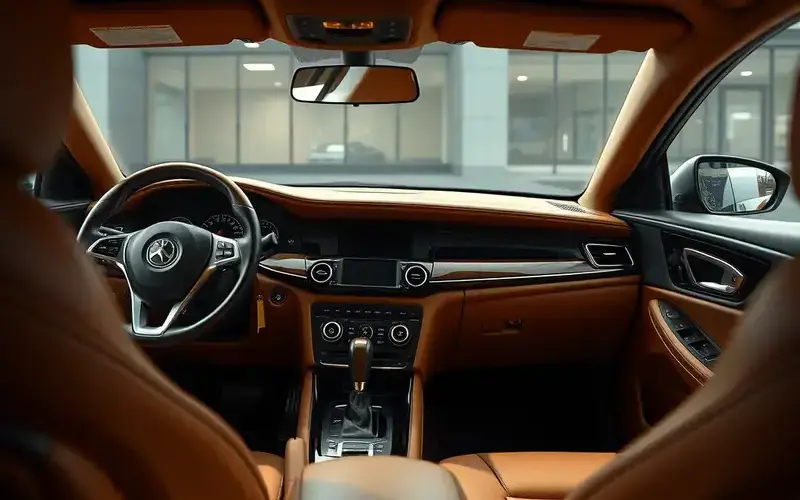
// 02 — カスタムペイント
6つの専門領域、
TSM SIGNALLING LTD の本気。
ボディ・ホイール・内装・カスタム・ポリマー・リペア。すべての工程を社内一貫対応できるからこそ、仕上がりにムラが出ません。気になる箇所をひとつずつご相談ください。
// 03 — 数字で見る TSM SIGNALLING LTD
数字は正直です。
それが私たちの誇り。
創業から19年。 TSM SIGNALLING LTD は全国のお客様とともに歩んできました。数字をクリックすると詳細をご覧いただけます。
▣
1,800+
累計施工台数
全国からご依頼いただいた、愛車のカスタムペイント累計施工実績。1台1台にオーナー様の物語があります。
◐
98.4%
顧客満足度
施工後アンケートで「満足」「とても満足」と回答いただいた割合。再依頼率の高さも信頼の証です。
◈
47都府県
出張対応エリア
出張見積もりから納車まで、北海道から沖縄まで全国対応。遠方の方もまずはご相談ください。
◆
3日
平均施工日数
部分塗装なら平均3営業日。全塗装でも最短5営業日で納車。スケジュール厳守で愛車をお返しします。
▤
6領域
社内一貫対応
ボディ・ホイール・内装・カスタム・ポリマー・リペア。すべての工程を社内で完結できます。
◉
19年
技術蓄積
2006年創業。塗装一筋で研鑽を積み重ねた職人たちが、お客様の愛車と向き合います。
// 04 — 施工の流れ
お問い合わせから
納車まで、6ステップ。
初めての方でも安心してご依頼いただけるよう、 TSM SIGNALLING LTD では工程を明確にしています。気になることはどのステップでもご質問ください。
01
無料相談・お見積もり
お電話・メール・フォームからご連絡ください。概算見積もりは即日ご提示します。
02
ご契約・日程確定
見積もり内容にご納得いただいた上で、契約書を取り交わし施工日を確定します。
03
カラーシミュレーション
調色段階でサンプル板と実車を照合。色の見え方をその場で確認できます。
04
施工
専用ブースで安全に施工。防塵・温度管理された環境でムラのない仕上がりを実現。
05
品質チェック
塗装膜厚・色差・光沢を専用機器で計測。基準を満たした状態で納車します。
06
アフターサポート
5年保証書を発行。全国の提携店舗で再点検・メンテナンスをご案内します。
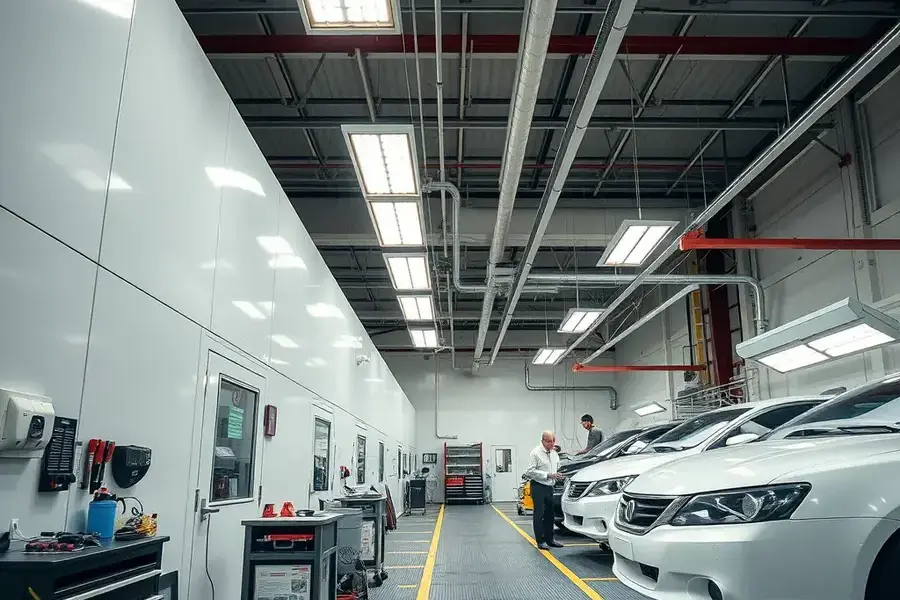
// 05 — 私たちの拠点
実績と物語、
TSM SIGNALLING LTD について。
塗装は「塗って終わり」ではありません。 TSM SIGNALLING LTD は2006年の創業以来、全国のお客様の愛車と真摯に向き合い続けてきました。
// 私たちの物語
塗装に、
哲学を。
TSM SIGNALLING LTD は、創業者・田中健一が「もっと自分の愛車を好きになれる塗装を届けたい」という想いから立ち上げた工房です。
当時は「塗料の匂いが残る」「仕上がりにムラがある」「見積もりと請求が違う」——そんな業界課題がたくさんありました。
だからこそ私たち TSM SIGNALLING LTD は、創業当時から「透明性」「再現性」「耐久性」を三本柱に掲げ、今日まで1,800台以上の施工を積み重ねてきました。
全国に広がるネットワークと、各店舗に常駐する職人。地方にお住まいの方でも、最寄りの拠点から出張対応いたします。技術力に地域差は出さない。これが TSM SIGNALLING LTD のポリシーです。
2006
創業年
47
都府県対応
¥0
見積もり費用
5年
長期サポート
// 06 — お客様の声
全国のオーナー様から
いただいた言葉。
TSM SIGNALLING LTD にご依頼いただいたお客様から、施工後のアンケートでいただいた生の声をご紹介します。
★★★★★
他店で2週間かかると言われた施工を、 TSM SIGNALLING LTD さんは3日で仕上げてくれました。色もサンプル通りで、思っていた以上の出来栄えです。営業の髙橋さんの説明も丁寧でした。
事例 · ボディリペイント 2024.09
★★★★★
輸入車のホイール塗装に対応してくれる店舗が少なく困っていました。 TSM SIGNALLING LTD は専用塗料で仕上げてくれて、ブレーキダストもつきにくくなり大満足です。
事例 · ホイール塗装 2024.07
★★★★★
法人で所有する計5台を一括でお任せしました。スケジュール通りに進めてもらい、業務への支障はゼロ。 TSM SIGNALLING LTD の伊藤さんの品質チェックも徹底していました。
事例 · フリートリペイント 2024.05
★★★★★
内装のカラー変更をお願いしました。レザー本来の質感を残したまま理想の色になっていて、家族全員が大喜びです。 TSM SIGNALLING LTD さんの鈴木さんの色彩提案が素晴らしかった。
事例 · 内装カラー変更 2024.04
// 07 — まずは無料相談から
愛車のことで、
気になっている方へ。
「この色、本当にできる?」「予算は?」「工期は?」——どんな小さな疑問でも、 TSM SIGNALLING LTD の職人がお答えします。初回見積もりは無料です。